News
How Do You Correctly Apply Rigid Sports Tape to the Ankle or Knee?
In competitive and recreational sports, injuries to the ankle and knee are among the most common. Sudden twists, awkward landings, or repetitive strain can all compromise joint stability and performance. To prevent such injuries or manage mild instability, rigid sports tape—often known as zinc oxide strapping tape—plays a crucial role. When applied correctly, it provides structured support to ligaments and joints without overly restricting natural motion.
1. Understanding Rigid Sports Tape
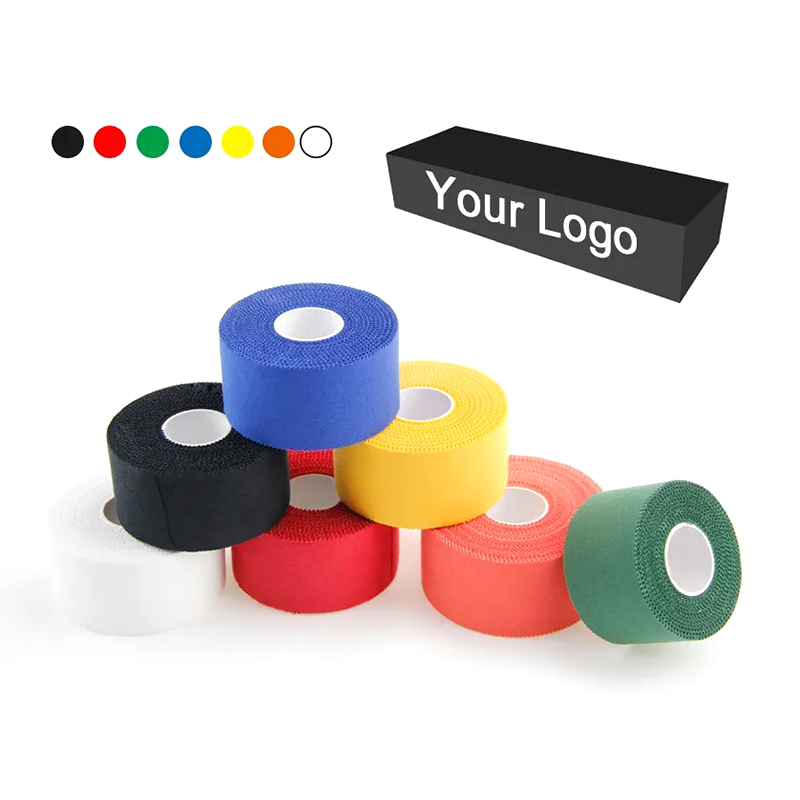
Rigid sports tape is a non-elastic adhesive tape designed to limit joint movement and provide firm support. Unlike flexible kinesiology tapes, rigid tape does not stretch. Its strength helps stabilize ligaments, reduce strain, and protect weak or previously injured joints during physical activity.
Key Characteristics
- Composition: Usually a cotton or rayon backing coated with zinc oxide adhesive for strong adhesion.
- Rigidity: Non-elastic, meaning it restricts joint movement in specific directions.
- Breathability: Quality medical-grade tapes are made of porous materials to allow airflow and reduce moisture buildup.
- Adhesive quality: Should remain secure even during intense sweating or friction.
When to Use It
- To prevent sprains or strains during training or competition.
- For supporting unstable joints after a previous injury.
- To reduce pain or swelling during rehabilitation.
- As temporary stabilization in emergency care before professional treatment.
2. Benefits of Correct Application
A well-applied rigid tape does more than immobilize—it improves proprioception (the body’s awareness of joint position), which helps athletes move confidently. The benefits include:
- Enhanced joint stability: Reduces excessive movement that might cause injury.
- Pain reduction: Supports tissues and relieves pressure from injured structures.
- Improved performance: Allows controlled movement without fear of reinjury.
- Injury prevention: Particularly valuable for sports involving cutting, jumping, or rapid changes in direction.
- Confidence: Psychological reassurance can help athletes perform at full potential.
However, incorrect application—too tight, poorly anchored, or placed over unprepared skin—can cause circulatory restriction, skin irritation, or reduced effectiveness. Technique matters.
3. Preparation Before Taping
Before applying rigid sports tape to the ankle or knee, proper preparation ensures better adhesion, comfort, and safety.
3.1 Skin Preparation
- Clean the skin: Remove oils, lotions, or sweat with mild soap or alcohol wipes.
- Dry completely: Moisture weakens adhesive strength.
- Shave or trim hair: Reduces pain during removal and prevents tape lifting.
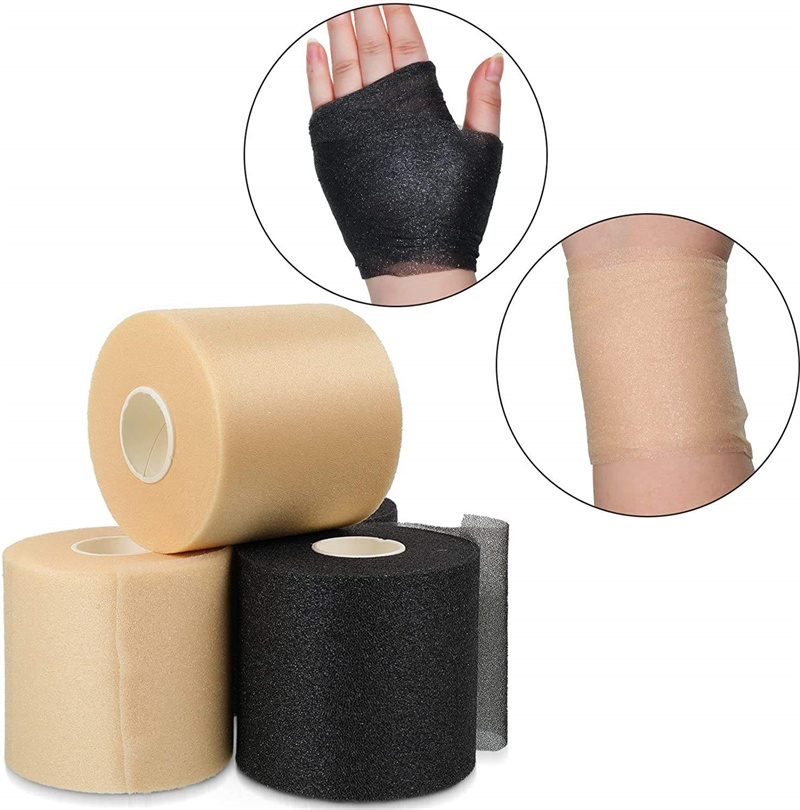
- Use underwrap or adhesive spray (optional): Protects sensitive skin and improves comfort during removal.
3.2 Equipment Needed
- Rigid sports tape (usually 38mm wide for ankles and 50mm for knees).
- Small scissors or tape cutters.
- Optional underwrap or foam padding for bony areas.
- Adhesive spray (for extra hold during long activity).
3.3 Testing for Skin Sensitivity
Before first use, apply a small strip to test for allergic reactions to zinc oxide or adhesives. If redness or itching occurs, choose a latex-free or hypoallergenic alternative.
4. How to Apply Rigid Sports Tape to the Ankle
The ankle is particularly prone to inversion sprains, where the foot rolls inward and overstretches the lateral ligaments. Proper taping helps prevent excessive inversion or eversion.
4.1 Step-by-Step Guide
Step 1: Position the Athlete
- Seat the athlete with the ankle at a 90-degree angle (foot perpendicular to the leg).
- Ensure the skin is clean and dry.
Step 2: Apply Anchors
- Wrap one or two anchor strips around the lower leg (just above the ankle bones).
- Apply another anchor around the midfoot, ensuring it’s snug but not constrictive.
- These anchors will hold the support strips in place.
Step 3: Apply Stirrup Strips
- Starting from the medial (inside) of the leg, pull the tape under the heel and up the lateral (outside) side to connect to the top anchor.
- Repeat this two or three times, slightly overlapping each strip to reinforce the lateral support.
- The stirrups prevent the ankle from rolling outward.
Step 4: Apply Figure-6 Strips
- Begin at the inside ankle, run the tape under the heel, and bring it diagonally across the top of the foot to form a “6” pattern.
- This provides cross-bracing for lateral and medial stability.
Step 5: Apply Heel Locks
- Start at the top of the ankle, wrap around the heel in a “U” shape, crossing over the front of the ankle.
- Repeat in the opposite direction to lock the heel securely in place.
- Heel locks help control heel movement and reduce strain on the Achilles tendon.
Step 6: Close and Secure
- Apply circular strips (closing strips) around the lower leg and midfoot to secure all layers neatly.
- Check for even tension—tape should be firm but not tight enough to cut circulation.
4.2 Checking Fit
- The athlete should feel supported but comfortable.
- Check capillary refill by pressing the toenail; color should return within 2 seconds.
- If tingling, numbness, or discoloration occurs, remove and reapply with lighter tension.

5. How to Apply Rigid Sports Tape to the Knee
Knee taping can provide mechanical support and proprioceptive feedback, especially after ligament injuries such as medial collateral ligament (MCL) or patellar tracking issues.
5.1 Step-by-Step Guide for the Knee (MCL Support Example)
Step 1: Position the Knee
- The knee should be slightly bent, around 20–30 degrees of flexion.
- The muscles should be relaxed for smooth application.
Step 2: Apply Anchors
- Place one anchor strip mid-thigh, and another just below the knee joint.
- These serve as attachment points for stabilizing strips.
Step 3: Apply Vertical Support Strips
- Starting from the inside of the upper anchor, run the tape diagonally downward and outward across the knee to the lower anchor.
- Overlap two to three strips in this pattern to limit valgus (inward) movement.
- This provides support to the medial side of the knee.
Step 4: Reinforce with Cross Strips
- Add a few horizontal or diagonal cross strips over the medial joint line to reinforce stability.
- Avoid taping directly over the kneecap to prevent irritation.
Step 5: Secure with Closing Strips
- Apply additional closing strips around the top and bottom anchors for a smooth, stable finish.
- Ensure even pressure and smooth edges.
5.2 Patellar Tracking Support (Optional Variation)
If the issue involves patellar misalignment, use smaller pieces to:
- Pull the kneecap gently toward the correct position.
- Anchor the tape from the lateral (outside) edge and draw it medially (inward).
- This helps improve patellar alignment during movement.
6. Tips for Effective Taping
- Don’t overtighten: Rigid tape should feel secure, not constrictive.
- Smooth the tape: Avoid wrinkles—they cause blisters and discomfort.
- Overlap consistently: Each strip should overlap the previous by about one-third.
- Use quality tape: Medical-grade, breathable tape ensures durability and comfort.
- Replace regularly: Tape loses adhesion after heavy activity or sweating; remove after each session.
- Educate athletes: Show them how to check for restricted blood flow or irritation.
7. Common Mistakes to Avoid
- Applying over wet or oily skin – leads to tape slippage.
- Using excessive tension – can reduce circulation.
- Skipping anchors – causes early loosening.
- Taping too low or high on the joint – provides ineffective support.
- Neglecting to check comfort and mobility – can result in poor performance or discomfort.
- Reusing tape – weakens adhesive and structural support.
8. Aftercare and Tape Removal
8.1 Removal
- Use tape scissors or a tape remover spray to minimize discomfort.
- Peel the tape gently in the direction of hair growth.
- Do not rip off the tape suddenly, as this may damage the skin.
8.2 Skin Care
- Wash the area with mild soap and warm water to remove adhesive residue.
- Apply a gentle moisturizer or aloe vera gel to soothe any irritation.
- Check for rashes or redness, especially in first-time users.
9. The Role of Professional Guidance
Although athletes often learn self-taping techniques, professional guidance is invaluable—especially for injury-specific applications. Physiotherapists, sports doctors, or certified trainers can tailor the taping pattern to the individual’s anatomy and injury profile. Incorrect taping can reduce effectiveness or even worsen instability.
Regular re-evaluation ensures that the tape continues to meet the athlete’s needs as recovery progresses or training intensity changes.
10. Quality and Safety: Choosing Reliable Sports Tape
Not all rigid tapes perform equally. The quality of materials and adhesive determines comfort, durability, and skin tolerance.
Suzhou Healthline Factory, for example, manufactures ISO 13485-certified medical-grade rigid sports tapes, designed for:
- Competitive sports environments,
- Clinical rehabilitation, and
- Home training.
Their tapes are made from breathable cotton–elastane blends (for flexibility and comfort) and advanced adhesive technologies that ensure secure yet skin-friendly adhesion. Such characteristics are essential for maintaining stability during long training sessions without causing irritation.
When selecting a tape, consider:
- Adhesive strength (zinc oxide or hypoallergenic).
- Breathability and sweat resistance.
- Rigidity and tear strength.
- Compliance with international quality standards.
11. Conclusion
Rigid sports taping is both a preventive and rehabilitative technique that empowers athletes to perform safely and confidently. When applied correctly to the ankle or knee, it offers structured joint support, limits excessive movement, and enhances stability—all while allowing functional mobility.
However, taping is most effective when used as part of a broader strategy that includes strength training, balance work, and professional assessment. Proper preparation, technique, and quality materials make the difference between a tape job that merely looks secure and one that truly supports performance and protection.
In short, rigid sports tape is not just about wrapping—it’s about understanding anatomy, movement, and purpose. With precision and care, it becomes a powerful ally in every athlete’s toolkit.
RECOMMENDED PRODUCTS

- ASHER.CAO:+86-176 2548 7782 Asher.cao@healthline-medical.com
- Tel:+86-512-6289 3223
- Mob:+86-176 2548 7782
- Email:Asher.cao@healthline-medical.com
- Whatsapp / Wechat:+86-176 2548 7782
- Skype:+86-176 2548 7782
Copyright © 2025 SUZHOU HEALTHLINE MEDICAL PRODUCTS CO., LTD
All Rights Reserved.
Sports Tape Manufacturers Cohesive Bandages Suppliers
The information provided on this website is intended for use only in countries and jurisdictions outside of the People's Republic of China.

