News
The Complete Guide to Self-Adhesive Bandages: Uses, Benefits, and How to Apply Them Correctly
In every first-aid kit, nestled among the antiseptic wipes and adhesive bandages, you’ll often find a roll of self-adhesive bandage. It might seem like a simple tool, but its versatility and unique properties make it an indispensable item for anyone from professional medical personnel to parents managing a household. Unlike a standard bandage, a self-adhesive bandage is a workhorse of first aid, capable of securing dressings, providing support, and managing swelling—all without tapes, pins, or clips.
What Exactly is a Self-Adhesive Bandage?
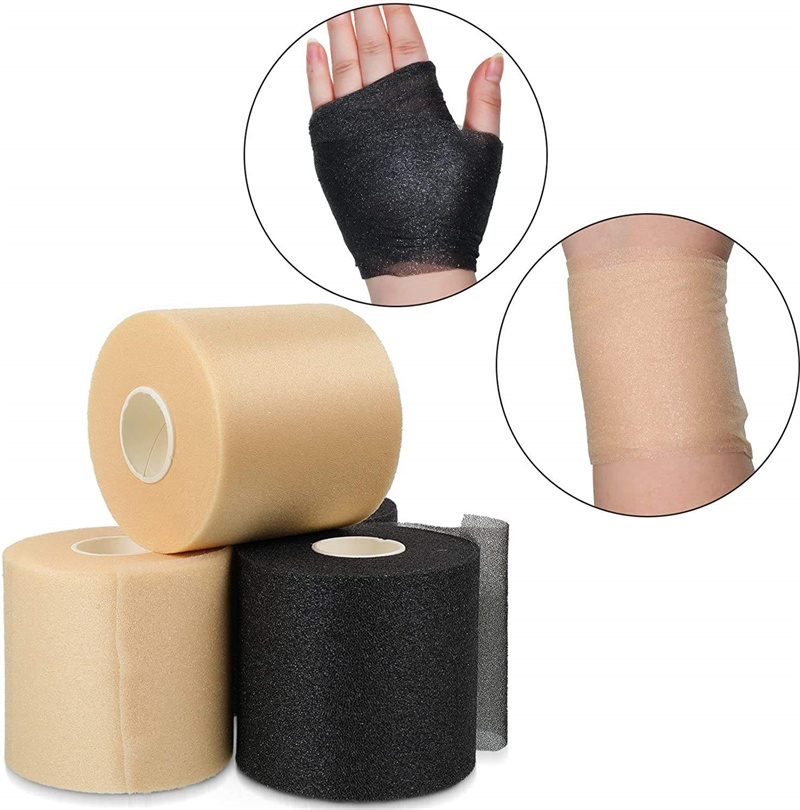
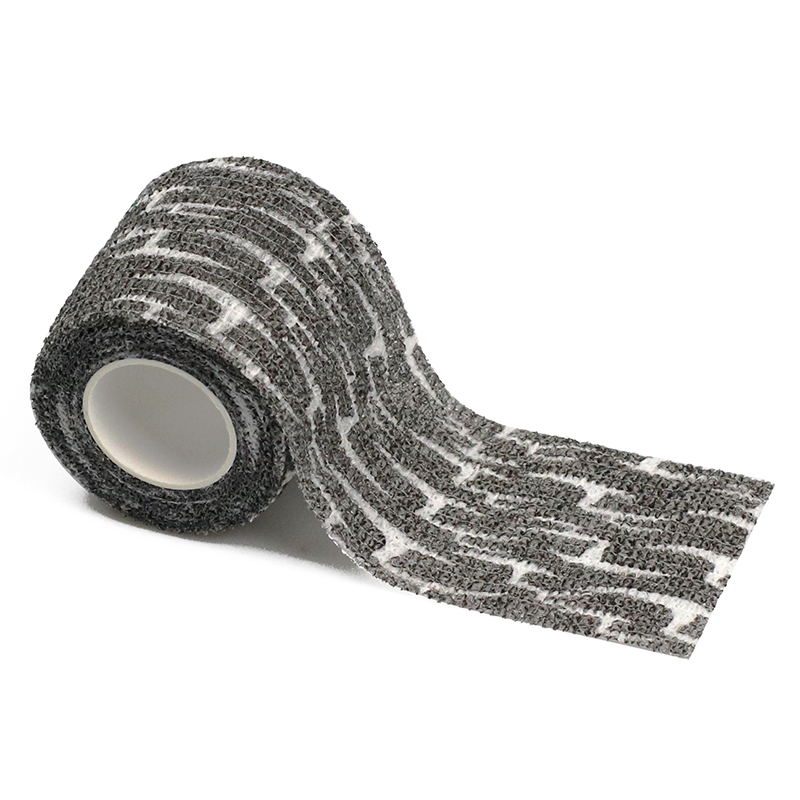
At its core, a self-adhesive bandage is a flexible fabric wrap, typically made from a blend of materials like cotton, polyester, and latex (or latex-free alternatives). Its defining characteristic is its unique cohesive property. This means the material sticks only to itself, not to skin, hair, or other surfaces.
Think of it like reusable, non-sticky tape in a roll form. When you wrap it around a limb or over a dressing, the slight tension and the texture of the material cause the layers to bond together firmly. This creates a secure hold that is easily adjustable and, most importantly, painless to remove.
Key Components:
Material: The base fabric is usually soft, porous, and stretchy. This allows for comfort, breathability, and a conforming fit that moves with the body.
Cohesive Agent: The "self-stick" quality is often achieved through a light application of a latex-based or synthetic rubber compound. However, a huge range of latex-free options are widely available for those with allergies, using acrylic or other hypoallergenic adhesives.
The Multifaceted Uses: More Than Just a Wrap
The beauty of the self-adhesive bandage lies in its wide range of applications. It’s a multi-tool in the medical world.
1. Primary Function: Securing Wound Dressings
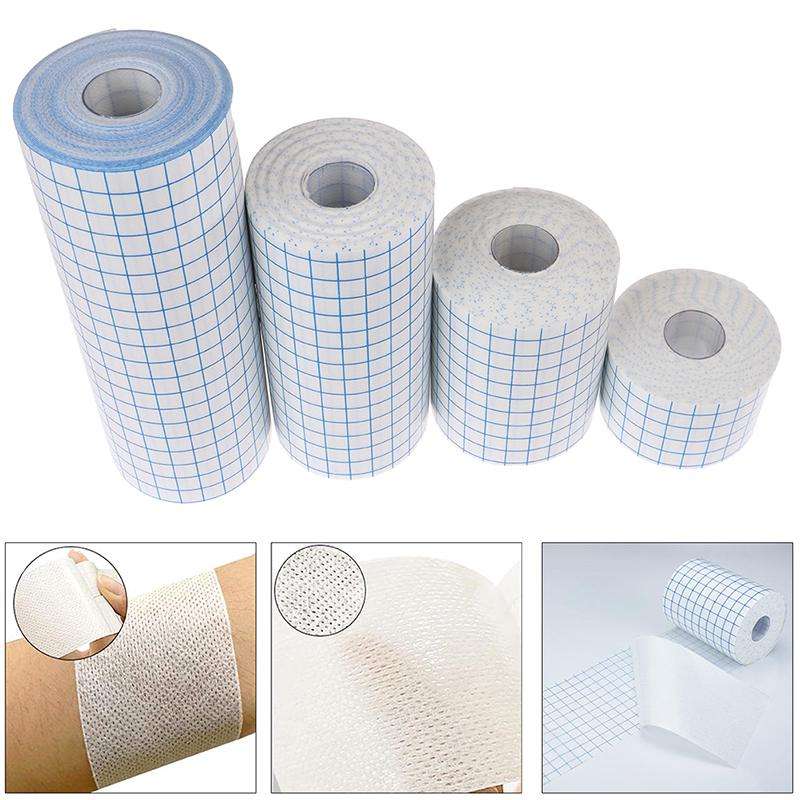
This is its most common use. After applying a gauze pad or non-adherent dressing to a wound, a self-adhesive bandage is the perfect tool to hold it in place. It’s far superior to trying to use multiple adhesive bandages for a larger wound and is less irritating than extensive medical tape, which can damage sensitive skin upon removal.
2. Providing Compression and Support
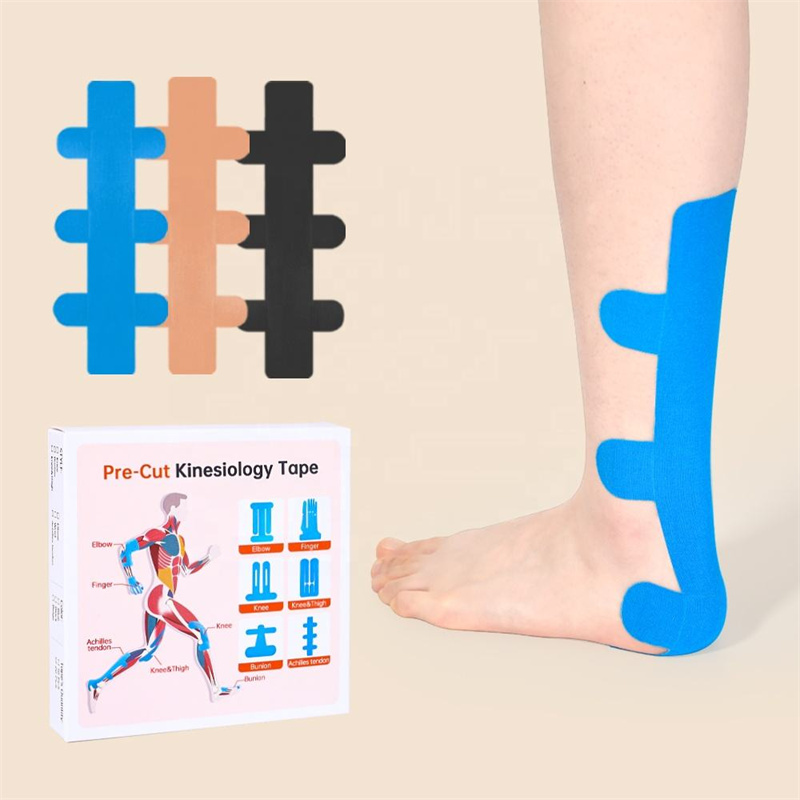
Sprains and Strains: For injuries like ankle or wrist sprains, compression is a key part of the R.I.C.E. (Rest, Ice, Compression, Elevation) protocol. A self-adhesive bandage provides gentle, consistent pressure that can help reduce swelling and provide support to the injured joint, limiting painful movement without completely immobilizing it.
Managing Edema: For individuals with conditions that cause swelling (edema) in the limbs, such as lymphedema, these bandages are used as part of compression therapy to promote fluid movement and reduce swelling.
3. Offering Light Stabilization
While they are not a substitute for a rigid medical brace or cast in the case of a suspected fracture, they do offer excellent light stabilization. They can be used to hold an injured finger against an adjacent one (buddy taping) or to gently support a mildly sprained joint, providing a sense of stability and reminding the user to limit movement.
4. Protecting High-Impact Areas
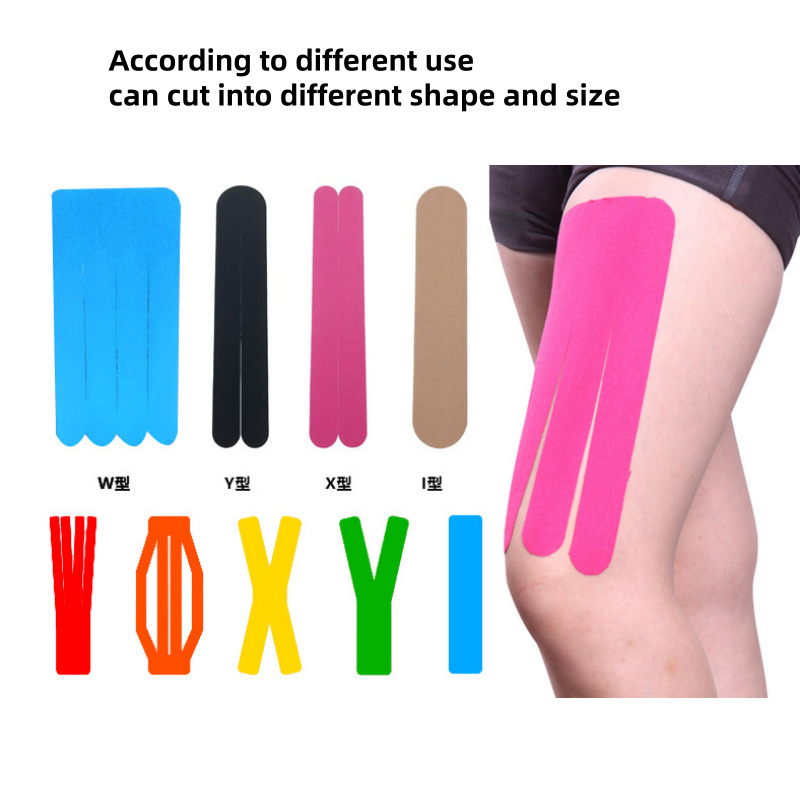
Athletes frequently use self-adhesive bandages (often in pre-wrap and tape combinations) to protect vulnerable areas from abrasion, blisters, or impact. For example, a soccer player might wrap their ankles for extra support during a game.
5. Veterinary Use
These bandages are a staple in veterinary clinics. They are perfect for securing dressings on animals because they won't stick to fur and are difficult for pets to chew or claw off easily, making them less stressful for both the animal and the owner.
Advantages Over Traditional Bandages and Tapes
Why choose a self-adhesive bandage over other options? The benefits are significant:
Pain-Free Removal: This is arguably its biggest advantage. Because it doesn’t adhere to skin or hair, it comes off easily without pulling, tugging, or causing discomfort. This is especially important for children, the elderly, or those with sensitive skin.
Reusable and Adjustable: If you need to check a wound or adjust the tightness, you can simply unwrap the bandage and use the same roll again. There’s no waste from throwing away used tape.
Breathable: The fabric is designed to allow air to circulate, which promotes a healthier healing environment for the skin and wound underneath, reducing the risk of maceration (skin breakdown from moisture).
Conforms to Body Contours: Its stretchiness allows it to mold perfectly to elbows, knees, ankles, and other difficult-to-bandage areas, ensuring a secure and comfortable fit.
No Need for Additional Fasteners: There’s no fumbling for safety pins or clips, which can be lost, poke the skin, or provide insecure attachment.

Potential Limitations and Important Safety Considerations
For all their benefits, self-adhesive bandages must be used correctly. Misuse can lead to serious complications.
The Danger of Improper Tightness: This is the most critical risk. The bandage should provide support and compression, not constriction.
Signs of a too-tight wrap: Numbness, tingling, increased pain, coolness to the touch, or discoloration (fingers or toes turning blue, purple, or white) are all red flags.
Always check circulation after application. You should be able to easily slide a finger under the bandage. Check the color and warmth of the area beyond the wrap periodically.
Not for Direct Wound Contact: These bandages are not sterile and are not designed to be placed directly on an open wound. Always use an appropriate sterile primary dressing first.
Allergic Reactions: While latex-free options exist, some individuals may still be sensitive to the materials in the bandage. Discontinue use if redness, itching, or a rash appears.
Not Waterproof: Most standard self-adhesive bandages are not waterproof. They will loosen and lose their cohesiveness if they get wet.
A Step-by-Step Guide to Proper Application
Applying a self-adhesive bandage correctly is a simple but important skill.
What You’ll Need:
Self-adhesive bandage roll
Appropriate sterile dressing for the wound (if needed)
Scissors (for cutting the bandage)
Instructions for Securing a Dressing (e.g., on an arm):
Prepare the Area: Ensure the wound has been cleaned, treated with antiseptic if necessary, and covered with a sterile gauze pad or other primary dressing.
Anchor the Bandage: Hold the start of the roll against the limb, just below the dressing. Make two initial, overlapping turns around the limb to create a secure "anchor." Ensure this anchor is on undamaged skin, not directly on the wound.
Cover the Dressing: Continue wrapping in a spiral pattern, moving upward. Each new turn should overlap the previous one by about half to two-thirds the width of the bandage. This ensures even pressure and security. Cover the entire dressing, extending an inch or two above and below it.
Lock it In: Once the dressing is fully covered, make two more straight turns around the limb to lock the end in place.
Secure the End: You have two options. You can simply tuck the end of the bandage under the last few layers—the cohesive property will hold it. Alternatively, you can tear or cut the end of the bandage lengthwise to create two tails and tie them in a simple knot.
Check Immediately: Check for proper tightness. Ensure you have not wrapped over a joint in a way that severely restricts movement. Verify that circulation is good by checking for pulse, color, and warmth distal to (below) the bandage.
For an Ankle Sprain (Figure-8 Technique):
Start: Hold the foot at a 90-degree angle. Place the end of the bandage on the instep (top) of the foot.
Anchor: Make two circles around the ball of the foot.
Ascend: Move the bandage diagonally across the top of the foot, around the back of the ankle bone, and back across the top of the foot to the other side, forming a "figure-8" pattern.
Continue: Continue this figure-8 pattern, moving upward toward the calf with each turn, each new layer overlapping the last by 50%.
Finish: End the wrap mid-calf and secure the end by tucking it in.
Choosing the Right Bandage for Your Needs
Self-adhesive bandages come in various widths and colors. Choosing the right one ensures effectiveness and comfort.
Width: 1-inch or 2.5 cm is ideal for fingers, toes, and small areas on children. 2-inch or 5 cm is the most versatile size, perfect for wrists, elbows, and securing medium-sized dressings. 3-inch or 7.5 cm and 4-inch or 10 cm are best for ankles, knees, and larger areas requiring compression.
Color: While often beige or white, they are available in a rainbow of colors. This can be a fun way to make a bandage less scary for a child or for athletes to match team colors.
Conclusion: An Essential Tool, Used Wisely
The self-adhesive bandage is a testament to the idea that the simplest tools are often the most brilliant. Its cohesive technology provides a secure, comfortable, and versatile solution for a multitude of first-aid scenarios. By understanding its uses, respecting its limitations—especially regarding tightness—and applying it correctly, you can elevate your first-aid capabilities significantly.
Keeping a few rolls of different widths in your home, car, and sports bag ensures you’re always prepared to handle minor injuries with confidence and care, making this humble roll of cloth a true cornerstone of practical, effective first aid.
RECOMMENDED PRODUCTS

- ASHER.CAO:+86-176 2548 7782 Asher.cao@healthline-medical.com
- Tel:+86-512-6289 3223
- Mob:+86-176 2548 7782
- Email:Asher.cao@healthline-medical.com
- Whatsapp / Wechat:+86-176 2548 7782
- Skype:+86-176 2548 7782
Copyright © 2025 SUZHOU HEALTHLINE MEDICAL PRODUCTS CO., LTD
All Rights Reserved.
Sports Tape Manufacturers Cohesive Bandages Suppliers
The information provided on this website is intended for use only in countries and jurisdictions outside of the People's Republic of China.

