
 English
 Español
 русский
 عربى
عربى

- Cotton Kinesiology Tape
- Synthetic Kinesiology Tape
- Nylon Kinesiology Tape
- 4-Way Stretch Elastic Kinesiology Tape
- Standard Kinesiology Tape Roll
- Pre-Cut Kinesiology Tape Strips
- Printed / Pattern Kinesiology Tape
- Perforated Kinesiology Tape (Ventilated)
- Special Shape Kinesiology Tape
- Water-Resistant Kinesiology Tape
- Pregnancy Support Tape
- Face Lift Kinesiology Tape
- Gentle / Beauty Kinesiology Tape
- Veterinary Kinesiology Tape
- Breast Lift Tape
- Customized Kinesiology Tape
- Pre-cut I Strip Kinesiology Tape
- Pre-cut Y Strip Kinesiology Tape
- Pre-cut X Strip Kinesiology Tape
- Knee Kinesiology Tape
- Leg Kinesiology Tape
- Shoulder Kinesiology Tape
- Back Kinesiology Tape
- Waist Kinesiology Tape
- Ankle Kinesiology Tape
- Pregnancy Belly Tape
- Beauty Face Tape
- Solid Color Cohesive Bandage Roll
- Printed & Pattern Cohesive Bandage
- Non-Woven Self-Adhesive Bandage
- Cotton Self-Adhesive Bandage
- PBT Gauze Cohesive Bandage Rolls
- Pet Vet Wrap
- Horse and Cattle Self-Adhesive Bandage
- Veterinary Cohesive Bandage
- Camo Cohesive Wrap Tape
- Military and Tactical Cohesive Bandage
- Tattoo Grip Tape
- Latex Cohesive Bandage
- Latex-Free Cohesive Bandage
- Pet Laminated Self-Adhesive Bandage
- High-Tensile Cohesive Bandage
- Football Sock Wrap Self-Adhesive Bandage
- Sterile Cohesive Bandage
- Special Function Cohesive Bandage
- OEM / Bulk Cohesive Bandage Roll
- Rigid Strapping Tape
- Athletic Tape
- Zinc Oxide Sports Tape
- Rayon Rigid Sports Tape
- Sports Strapping Tape
- Finger Bob Bandages
- Boxing Tape
- Heavyweight Elastic Adhesive Bandage (EAB)
- 93 Cotton Heavyweight Elastic Adhesive Bandages(EAB)
- Athletic Heavyweight Elastic Adhesive Bandage (EAB)
- Lightweight Elastic Adhesive Bandage (EAB)
- Athletic Lightweight Elastic Adhesive Bandage (EAB)
- American Style Elastic Adhesive Bandage (EAB)
- Japanese Style Elastic Adhesive Bandage (EAB)
- Elastic Adhesive Compression Bandage
- Veterinary Elastic Adhesive Bandage (EAB)
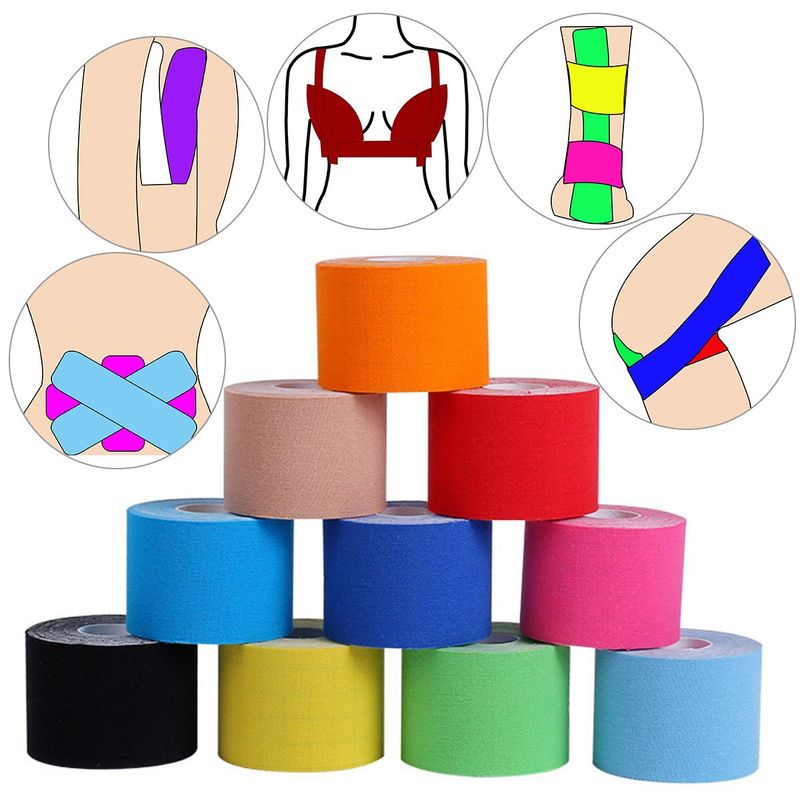
Achilles Tendonitis Taping with Kinesio Tape: Steps, Tension, and Wear Time
Content
A dull pull at the back of your heel during the first steps out of bed, which loosens after ten minutes of walking and flares again after training, is the pattern most runners and court athletes recognize as Achilles tendonitis. Kinesio tape will not repair the tendon on its own. Applied with the right strip layout and tension, however, it reduces the load the tendon takes at push-off, calms pressure-sensitive pain, and keeps circulation moving through tissue with a naturally poor blood supply. What follows is the three-strip layout used in physiotherapy clinics, including the tension numbers and timing details that decide whether your tape survives five days or peels off after one.
What kinesio tape actually does for an irritated Achilles
The Achilles carries forces of several times body weight when you run or jump, so an irritated tendon needs either less force or force it can tolerate better. Elastic kinesiology tape helps on three fronts:
- Shared load: a stretched strip bridging the heel and calf behaves like a light external spring, absorbing part of the tensile load on every push-off.
- Decompression: the tape's recoil gently lifts the skin, creating room for blood and lymphatic flow around the tendon sheath, which eases the morning stiffness and puffiness typical of tendonitis.
- Sensory cueing: constant light tension on the skin sharpens awareness of the area and subtly discourages the explosive loading that keeps re-irritating it.
Rigid strapping tape works differently: it locks the ankle at a fixed angle and suits acute sprains or short maximal efforts. A healing tendon usually needs to keep moving through its range, which is why elastic tape is the default choice here. Research on elastic Achilles taping shows protective effects during sport-specific movements, though study results overall are mixed, so treat tape as a low-risk supplement to load management rather than a treatment in itself.
What you need before you start
Most taping failures happen before the first strip touches skin. Assemble:
- 5 cm wide kinesiology tape, the width nearly every Achilles method is built around
- Scissors, to cut strips and round every corner so socks cannot snag an edge
- Clean, dry skin: no lotion, sweat, or fresh sunscreen; trim heavy leg hair if removal is a concern
- A bed edge, plinth, or sofa where you can lie face down with the foot hanging free
Roll tape versus pre-cut shapes is a genuine decision rather than a matter of taste:
| Option | Best suited for | Typical wear time | Main drawback |
|---|---|---|---|
| Cotton roll tape | Custom lengths and combining techniques | 3-5 days | Measuring and cutting take practice |
| Water-resistant synthetic tape | Sweaty sessions, outdoor running, daily showers | 4-6 days | Stiffer feel; cannot be torn by hand |
| Pre-cut Achilles patches | Consistent placement, team kits, first-time users | 3-5 days | Fixed length may not fit very small ankles |
| Rigid zinc oxide tape | Short-term maximum restriction | 1-3 days | Limits ankle motion during wear |
For the fastest, most repeatable setup, purpose-shaped patches remove the measuring and cutting step entirely:
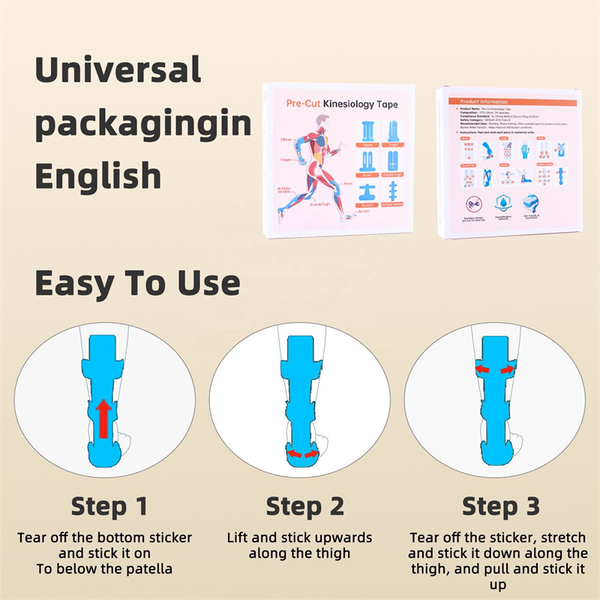 Pre-Cut Achilles Tendon Support PatchesPurpose-shaped kinesiology patches pre-configured for the heel and Achilles tendon, removing measuring and cutting. A quick, repeatable option when you want the fastest setup before following the taping steps below.View Product →
The three-strip method, step by step
Lie face down with your foot hanging off the edge of the bed so the ankle relaxes into a slightly pointed position. The diagram below maps where each strip lands; the steps explain how to get there.
Step 1: Measure and cut
Measure from the bottom of the heel pad to just below the back of the knee and cut two strips to that length, roughly 35 to 40 cm for most adults. Slit one strip lengthwise from one end, stopping 4 to 5 cm short, to create a Y. Cut a third strip of 10 to 12 cm, then round the corners of all three.
Step 2: Lay the main support strip
Anchor the intact end on the fatty pad just below the heel bone with zero tension. Point your toes, then lay the strip up the back of the ankle and lower calf at 15 to 25 percent stretch, peeling the backing as you go. Finish the last 4 to 5 cm unstretched so the end sits flat on the upper calf. A smooth, consistent roll makes this strip far easier to lay:
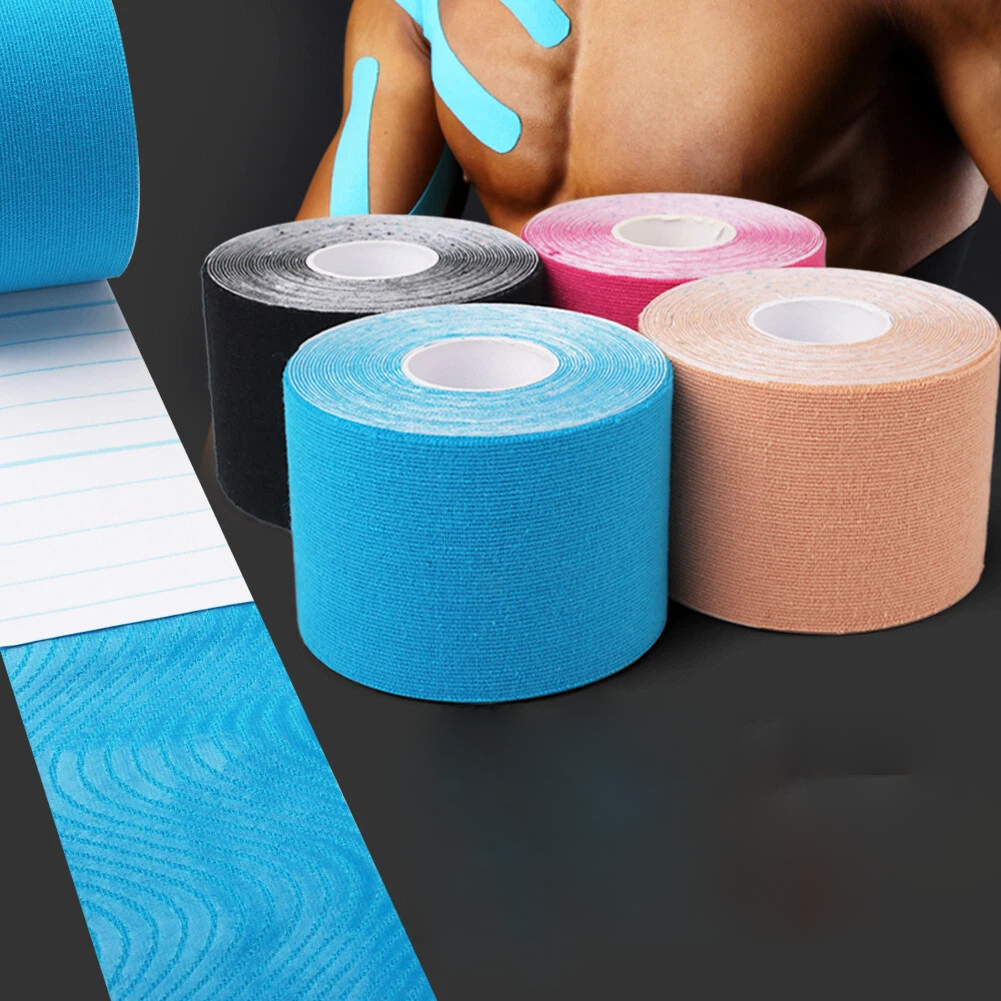 Classic Cotton Kinesiology Tape for AthletesBreathable cotton athletic tape with medical-grade adhesive that stays put through sweat and showers. Ideal for laying the heel anchor and calf Y-strip described here, with smooth, consistent roll-on application.View Product →
Step 3: Support the calf with the Y-strip
Anchor the intact end of the Y just inside the first strip on the heel pad, again with no tension. Lay the stem up the tendon with light stretch, then at the lower third of the calf guide one tail along the inner border of the muscle and the other along the outer border, each with no more than 15 percent stretch. This supports the gastrocnemius and soleus, the muscles that feed into the tendon and share its workload.
Step 4: Add the decompression strip
Find the most tender point, usually 2 to 6 cm above the heel bone. Stretch the middle of the short strip to 50 to 75 percent and lay it horizontally across the sore spot, letting the final 2 to 3 cm on each side touch down with zero tension. This is the only strip in the layout where aggressive middle stretch is standard.
Rub every strip firmly for 20 to 30 seconds; the adhesive is heat-activated and bonds under friction. Flex the ankle a few times to confirm that no end pulls or puckers the skin.
Tension tolerances and the mistakes that ruin an application
Two rules decide most outcomes: anchors always at zero stretch, and the tendon line never above 25 percent. Exceeding those tolerances does not add support; it tugs at skin that is already sensitive and causes blisters along the heel, where the tape flexes most. Apply the whole layout at least 30 to 60 minutes before training, because heat and sweat trapped under fresh adhesive weaken the bond. The recurring failures are predictable:
- Stretching the anchor ends, the single most common cause of early peeling
- Applying over lotion, sweat, or sunscreen so the adhesive never grips
- Leaving square corners that snag on socks and lift within hours
- Taping over cuts, rashes, or healing blisters
- Ignoring itching or tingling, which means the tape comes off now, not later
- Reusing strips, since the adhesive pattern is single-use only
Sensitive skin? Test a small patch on the inner forearm for a day before a full application, and choose a latex-free formula if past strapping has caused reactions.
Wear time, removal, and when taping is not enough
Standard cotton tape stays on for three to five days, and water-resistant synthetic versions handle showers and sweaty sessions for four to six. Pat the area dry after washing instead of scrubbing it. For removal, soak the strips with baby oil or soapy water and peel slowly, pushing the skin away from the tape as you go; ripping dry tape off in one motion is how people decide taping is not for them.
For placement detail on both approaches, the clinic guide to applying kinesiology and rigid tape for Achilles tendinitis compares the two methods side by side.
Taping earns its place inside a larger plan. Eccentric heel-drop loading, trimmed training volume, and a review of footwear and calf flexibility do the structural work, while the tape manages symptoms in between, fitting naturally into a broader sports rehabilitation routine. Pain relief you can feel while walking is not permission to sprint; reintroduce intensity gradually and keep the tape on through the first hard sessions back.
Stop re-taping and get assessed if any of the following appear: a sudden snap or pop in the tendon, pain that prevents a single heel raise, rapid swelling or thickening, or soreness that persists beyond two to three weeks despite reduced loading. Tendonitis responds well to early, sensible management; a partial tear does not wait.
If long training days or humid weather keep defeating standard adhesive, a waterproof construction holds up far better:
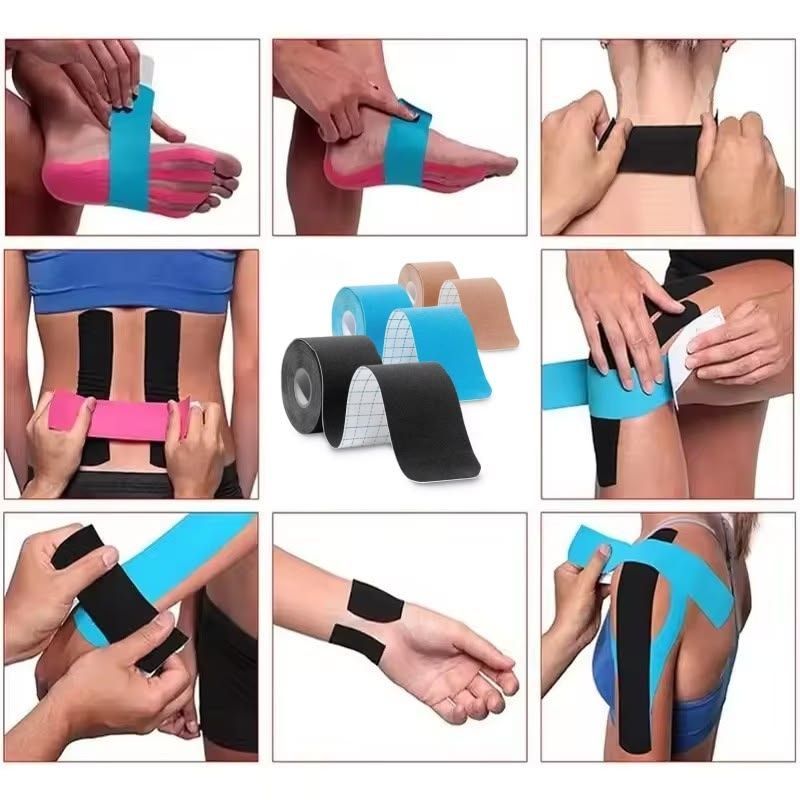 Waterproof Kinesiology Tape RollLatex-free, breathable waterproof tape in multiple widths that holds through sweat, showers, and humid conditions. A reliable choice when long training days or moisture keep defeating standard adhesive wear time.View Product →
Share:
RECOMMENDED PRODUCTS


















- Asher.cao
- Tel:+86-512-6289 3223
- Mob:+86-176 2548 7782
- Email:Asher.cao@healthline-medical.com
- Whatsapp / Wechat:+86-176 2548 7782
- Skype:+86-176 2548 7782
- Ethan Zhang
- Tel:+86-512-6289 3223
- Mob:+86-19822909189
- Email:ethanzhang@healthline-medical.com
- Whatsapp / Wechat:+86-19822909189
- Skype:+86-19822909189
- Jason Zhang
- Tel:+86-512-6289 3223
- Mob:+86-13152123359
- Email:jason@healthline-medical.com
- Whatsapp / Wechat:+86-13152123359
Copyright © 2025 SUZHOU HEALTHLINE MEDICAL PRODUCTS CO., LTD
All Rights Reserved.
 Sports Tape Manufacturers Cohesive Bandages Suppliers
The information provided on this website is intended for use only in countries and jurisdictions outside of the People's Republic of China.


